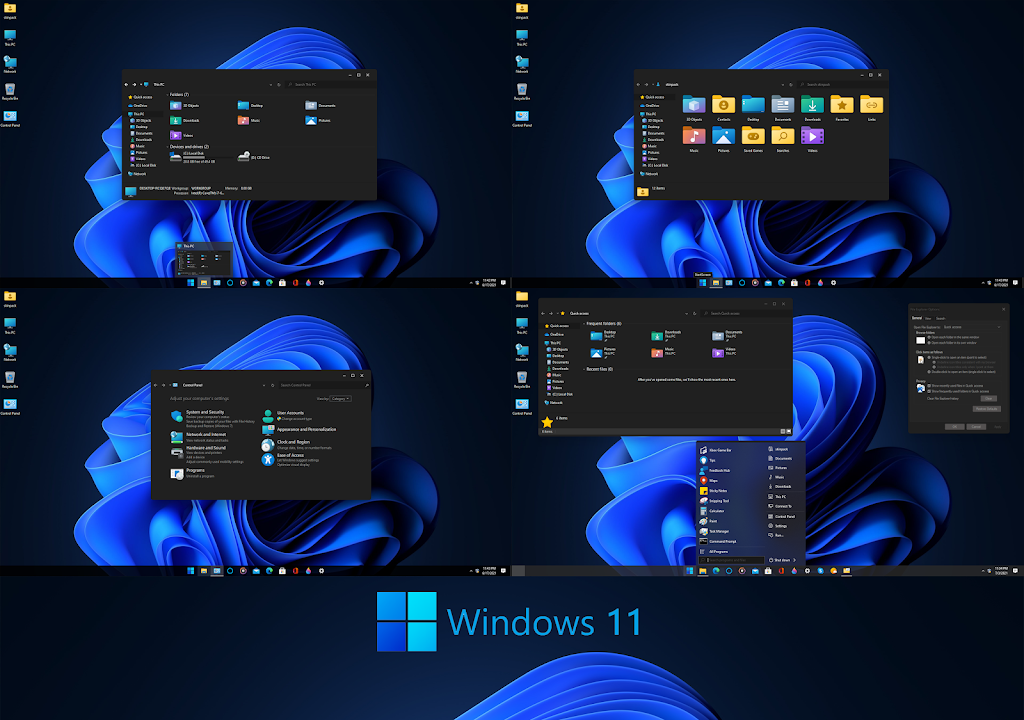
Windows operating systems have long offered users the ability to customize their desktop experience. While changing desktop backgrounds and themes is relatively well-known many people may be unfamiliar with the process of changing the icon pack. This article will guide you through the steps of using Ultra UX Theme Patcher to modify your desktop icon pack on Windows.
Step 1: Download and Install Ultra UX Theme Patcher
To start go to the official Ultra UX Theme Patcher website and download the latest version of the program. Be sure to choose the correct version for your Windows operating system (32-bit or 64-bit). Once downloaded run the installer and follow the on-screen instructions to complete the installation process. It is important to note that modifying system files can have risks so proceed with caution and create a system restore point as a precaution.
Step 2: Choose an Icon Pack
After successfully installing Ultra UX Theme Patcher you will need to find an icon pack that suits your preferences. Several websites offer a wide range of icon packs to choose from such as DeviantArt, IconArchive and WinCustomize. Browse through these websites and download an icon pack of your liking. Make sure the icon pack you choose is compatible with your version of Windows.
Step 3: Extract the Icon Pack
Once you have downloaded an icon pack navigate to the location where the file is saved and extract its contents using a file extracting tool like WinRAR or 7-Zip. Right-click on the file and select “Extract Here” to unpack the contents into a folder.
Step 4: Apply the Icon Pack
Locate the folder where the icon pack was extracted and check if there is an .ICO or .DLL file present. Right-click on the Ultra UX Theme Patcher shortcut on your desktop and select “Run as administrator” to launch the program. A new window will open displaying the status of system files in your Windows installation.
Click on the “Files Patched” tab and enable the checkbox for the option “Set Windows Live mail to the default”. Then click on the “Extra” tab and enable the option “Use a custom 3rd party theme”. Ensure that the checkboxes for “Theme Signature Bypass” and “UxStyle Core” are also enabled. Click on the “Patch” button and wait for the process to complete.
Step 5: Copy Icon Files
After patching is complete navigate to the folder where the icon pack was extracted. Copy the .ICO or .DLL files from the icon pack folder and go to the following directory on your Windows installation drive (usually C:WindowsSystem32).
Inside the System32 folder locate the “imageres.dll” file and make a backup copy of it. Replace the original “imageres.dll” file with the one you copied from the icon pack folder. It is essential to have administrative privileges to overwrite system files.
Step 6: Apply the Changes and Restart
Once you have replaced the “imageres.dll” file save all your work and restart your computer. After the restart you should see the new icon pack applied to your desktop file explorer and system icons.
Conclusion
Changing the desktop icon pack can be a fun and satisfying way to personalize your Windows desktop. By using Ultra UX Theme Patcher you can easily modify your desktop’s appearance with custom icon packs. Remember to exercise caution during the process and be sure to back up any essential files before making any changes. Enjoy exploring the vast array of icon packs available and transforming the look and feel of your Windows desktop.

